在Xp系统下安装Win7双系统的图文方法分享
(编辑:jimmy 日期: 2026/6/27 浏览:2)
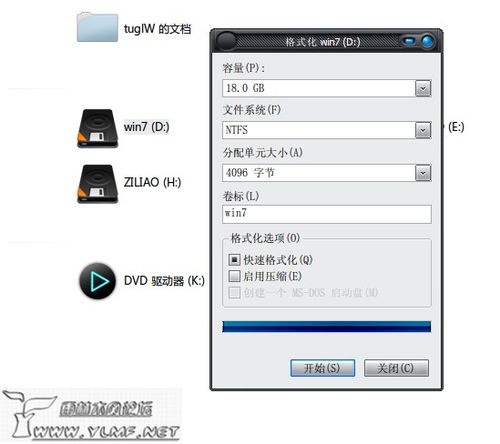
准备工作 1)准备一个空间为15-20G的空闲分区,并格式化为NTFS格式!

2)安装虚拟光驱DAEMON Tools Lite。
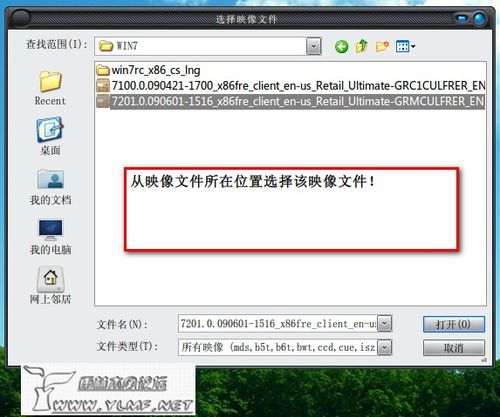
3)从虚拟光驱加载Win7ISO映像文件,如下图,


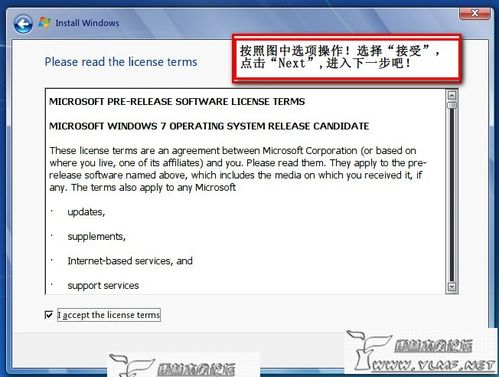
开始安装 双击,打开从虚拟光驱加载后得到的新分区,再双击“Setup.exe”, 进入安装界面,开始Win7的安装。照图操作吧!


继续“Next”,

继续“Next”,出现安装目标盘选项,准备把Win7安装到D盘,所以就选择D盘吧!
到这里,真正的安装就开始了!
经过几次(3次吧)重启后,就到下图啦!语言设置界面!

语言设置,操作如图所示。

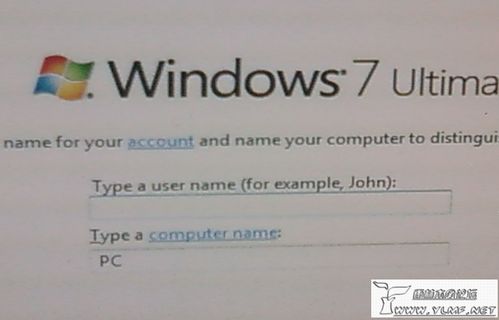
设置用户名,及密码:
输入序列号!这里选择不输入,把“自动激活....”选项前的“√”取消。

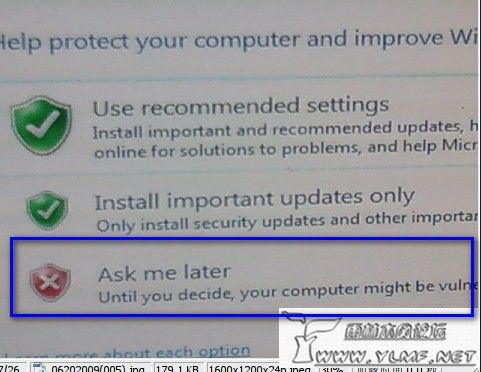
接下来,选择第三项吧!
选择时区,设置系统日期,根据具体情况看吧!我们是中国,在第一个蓝色方可以找到对应的时区。如果正确就不用修改;不正确,当然就要修改到正确的选项!我们才能显示正常的日期和时间!

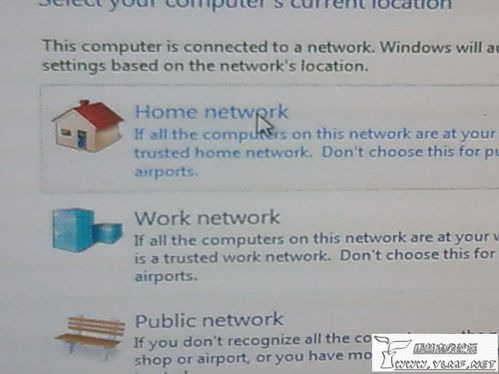
网络选择。我是局域网,所以也就是选择第一项!
在完成以上设置后,会再次重启系统!我们就能看到XP/Win7双系统启动菜单啦!选择自己想要的Win7,去体会新版本系统吧!

注意事项 补充:在Win7下调整默认启动项,及启动等待时间
控制面板----系统和安全----系统,高级系统设置----启动和故障恢复----设置,在“默认操作系统”选项中选择你需要的系统,并调整“显示操作系统列表的时间”方框中的数值为自己认为合适的数字即可。最后,点击“确定”,确认更改!
上一篇:还原精灵使用详细图文教程